The first stage of using the War Room is setting up the groups of phrases and hashtags you want to follow during an event. This is done in the Group Management tab of the War Room.
Groups are connected to Brand Intelligence programs, so users using the same program will see the same groups in the War Room. For further information about programs see the Settings Screen.
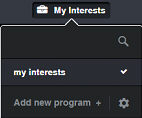
To select another program click the program’s name at the top of the screen and select the required program from the dropdown.
To set up a group
At the top of the War Room screen open the Group Management tab.
In the Group Management tab click  in the upper left of the screen. This opens an Edit Group popup.
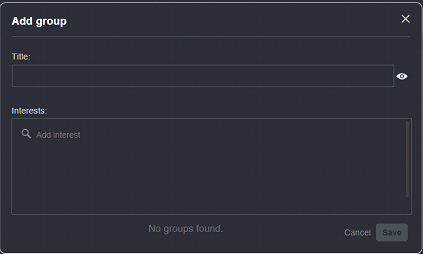
New group popup
In the Edit Group popup enter a name for the group in the Title field and enter the phrases and hashtags to be included in the group, separated by commas.
Note: |
A phrase can be added to multiple groups. |
To hide the group from the War Room’s Main
screen, click the View/Hide icon  to the right
of the Title field. The icon changes to a ‘Hidden’ icon:
to the right
of the Title field. The icon changes to a ‘Hidden’ icon:  .
.
Watching properties - to hide the group from
the War Room’s Main screen, click the View/Hide icon to
the right of the Title field. The icon changes to a ‘Hidden’ icon:
.
Click Save to save the group.
Further Group Management actions
Search for specific groups by typing the
name in the  field in the upper left of the screen.
Hide/unhide all groups by clicking the View/Hide
icon above the
list of groups. This will hide the groups from the main war room screen.
Edit a group by clicking the Edit button  to
the left of the group. This opens the Edit Group popup.
to
the left of the group. This opens the Edit Group popup.
Delete a group by clicking the Delete button  to
the left of the group.
to
the left of the group.
Hide/unhide a single group by clicking the View/Hide icon to the right of the group.
Sort the list of groups in ascending or descending order by clicking the column headers (Group or Phrases).
Personalize the program by editing the War
room theme on the  icon
to the right. You can add the brand name and upload the logo image
& cover image.
icon
to the right. You can add the brand name and upload the logo image
& cover image.
See Also: